Mi card using Flutter Chapter: 1

I am a student studying 4th year CSE in Sastra Deemed to be University, Thanjavur.
In this fast-growing world, everyone tends to have their own identity. For all those people, I thought of developing a minimalistic mi card using flutter. Developing this mi card can be done in two ways, One is using the predefined card class which makes things a lot easier and the other is giving your own dimensions for your own code. I thought of writing blogs on each of them. So, here is my first blog developing mi card using card class.
Before going to code we need to do some base work. First, get the image which you think to display on your mi card and follow accordingly :
- Go to the project section, Right-click on the project name.
- Go to new and then select create new directory.
- Give the directory name as images.
- Drag your image into that image section.
- In the same way create another directory and name it as fonts.
- Now go to this link: https://fonts.google.com/ and search for Pacifico, you will get the font and just download it.
- Extract the zip, you will get a lot of font shades in it. But drag Pacifico-Regular.tttf into the fonts section.
- Now again go to the same link and search for Source Sans Pro, you will get the font and just download it.
- Extract the zip and from that drag SourceSansPro-Regular.tttf to the fonts section.
Finally, It will appear in this way:
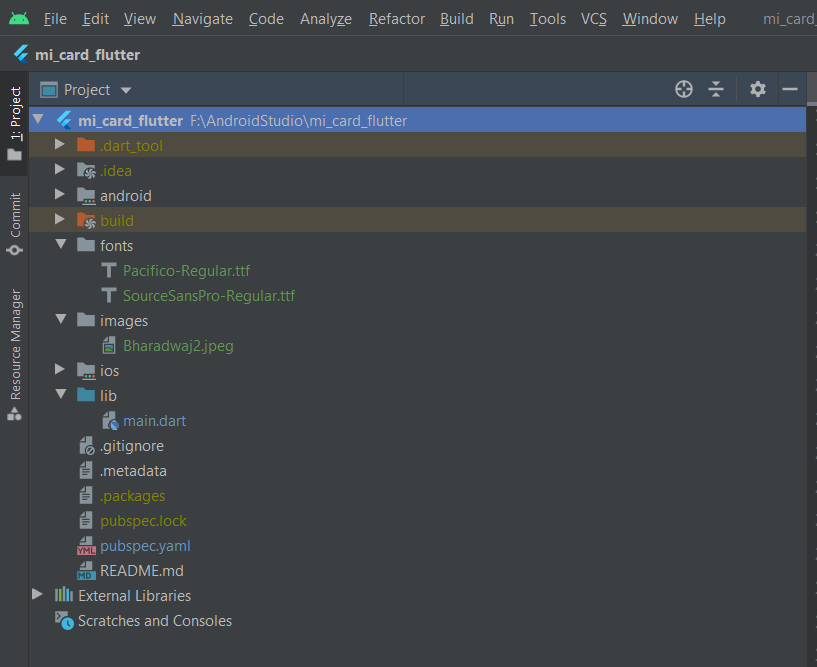 In the place of Bharadwaj2.jpeg, you may have your image name. No issues with that.
Before coming to the coding part, open pubsec.yaml file by double-clicking on it. You can find its location from the above image. Clear the entire section and paste the below code there,
name: mi_card
description: A new Flutter application.

version: 1.0.0+1

environment:
  sdk: ">=2.1.0 <3.0.0"

dependencies:
  flutter:
    sdk: flutter

  cupertino_icons: ^0.1.2

dev_dependencies:
  flutter_test:
    sdk: flutter

flutter:

  uses-material-design: true

  assets:
    - images/bharadwaj2.jpeg

  fonts:
    - family: Pacifico
      fonts:
        - asset: fonts/Pacifico-Regular.ttf

    - family: Source
      fonts:
        - asset: fonts/SourceSansPro-Regular.ttf
On the place of Bharadwaj2.jpeg give your image name. Then click on Pub get, it will perform some operations in the console part. On the main.dart file click on get dependencies. So, that it can integrate the yaml file into your code.
Coming to the code part, Copy and paste the code as follows :
import 'package:flutter/cupertino.dart';
import 'package:flutter/material.dart';

void main() {
  runApp(MyApp());
}

class MyApp extends StatelessWidget {
  @override
  Widget build(BuildContext context) {
    return MaterialApp(
      home: Scaffold(
        backgroundColor: Colors.teal,
        body: SafeArea(
          child: Column(
            mainAxisAlignment: MainAxisAlignment.center,
            children: [
              CircleAvatar(
                radius: 50.0,
Coming up next you should give link your image to the code,
 backgroundImage: AssetImage('images/bharadwaj2.jpeg'),
              ),
Give your imagename.jpeg/png instead of bharadwaj2.jpeg.
To give your name under the image, follow the code, and make changes accordingly
Text(
                'Vishnubhotla Bharadwaj',
                style: TextStyle(
                    fontSize: 30.0,
                    fontFamily: 'Pacifico',
                    fontWeight: FontWeight.bold,
                    color: Colors.white),
              ),
In the place of Vishnubhotla Bharadwaj, give your name.
Under the name just write your designation. I just started learning flutter recently. So, mine is simply 'Flutter Enthusiastic', you can write your own.
            Text(
                'FLUTTER ENTHUSIASTIC',
                style: TextStyle(
                  fontSize: 20.0,
                  fontFamily: 'Source',
                  fontWeight: FontWeight.bold,
                  color: Colors.teal.shade100,
                  letterSpacing: 2.5,
                ),
              ),
From here simply code the code and paste it into your idle
SizedBox(
                height: 20.0,
                width: 150.0,
                child: Divider(
                  color: Colors.teal.shade100,
                ),
              ),
              Card(
                color: Colors.white,
                margin: EdgeInsets.symmetric(horizontal: 25.0, vertical: 10.0),
                child: ListTile(
                  leading: Icon(
                    Icons.phone,
                    color: Colors.teal,
                  ),
On the mi card, I thought of giving my phone number and email id. So, that contacting will be easier. Here is the code for your phone number text field.
title: Text(
                    '+91 12345',
                    style: TextStyle(
                      fontFamily: 'Source',
                      fontSize: 20.0,
                      color: Colors.teal.shade900,
                    ),
                  ),
                ),
              ),
In the place of +91 give your country code and in the place of 12345 give your own phone number.
Again we should use a card layout for giving your email id. So, from here simply copy the code and paste it on your idle.
  Card(
                color: Colors.white,
                margin: EdgeInsets.symmetric(vertical: 10.0, horizontal: 25.0),
                child: ListTile(
                  leading: Icon(
                    Icons.email,
                    color: Colors.teal,
                  ),
Now, its time to give your email id
title: Text(
                    'emailid',
                    style: TextStyle(
                      fontSize: 17.0,
                      fontFamily: 'Source',
                      color: Colors.teal.shade900,
                    ),
                  ),
                ),
              ),
            ],
          ),
        ),
      ),
    );
  }
}
In the place of emailid, Give your personal mail.
That's it now just compile the code and you can see the magic. My app just locks in this way :
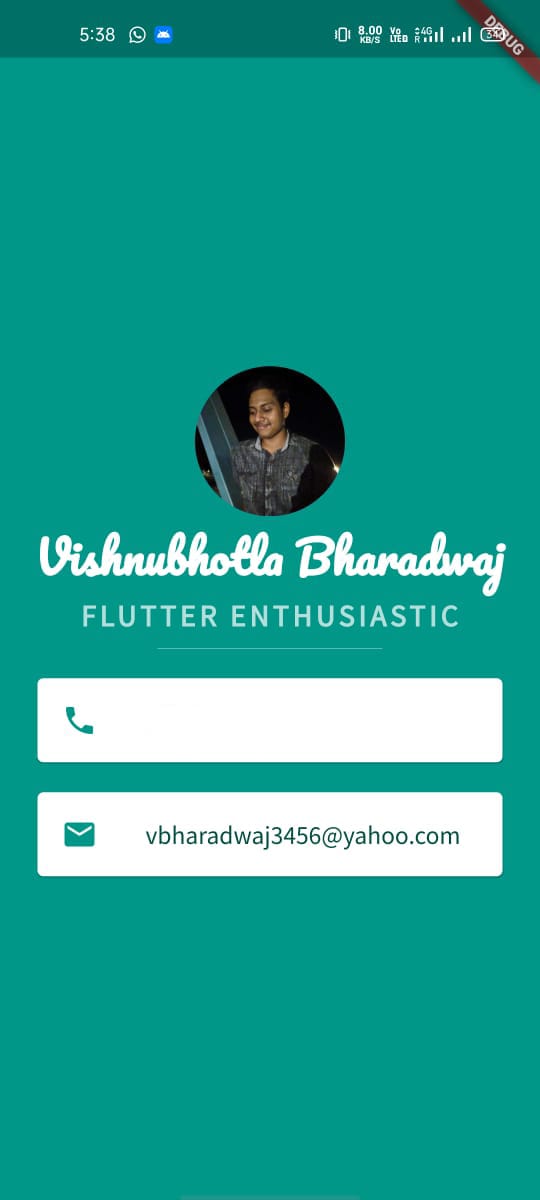
Share your mi-card app images in the comment section. Waiting to see them.


